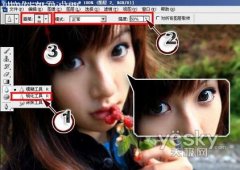
打开需要处理的图像。

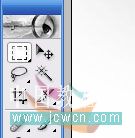
点击矩形选框工具
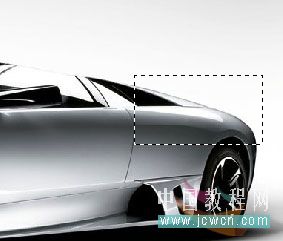
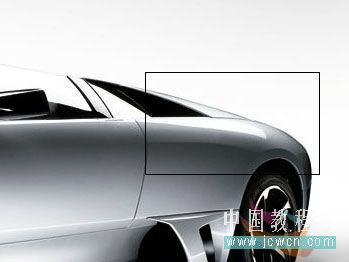
在图片上任意画一矩形框
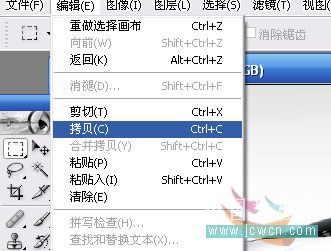
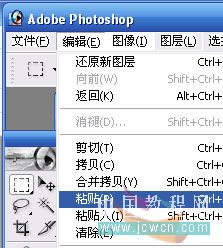
选择编辑菜单下的拷贝
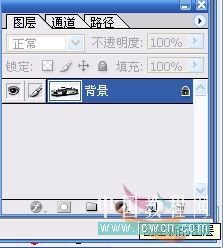
在图层窗口中点创建新的窗口
在编辑菜单中选择粘贴
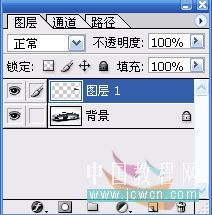
粘贴的内容出现在刚才新建的图层中
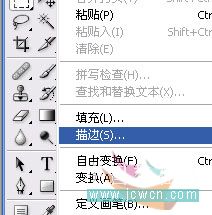
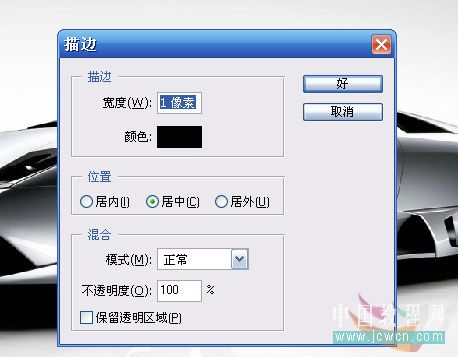
选择编辑菜单中的描边
出现描边对话框,定义为1像素,颜色为黑,当然你可以根据你的喜好来定,教程是死,真正掌握的是方法和举一反三
在图像中刚才框选的地方出现描边效果
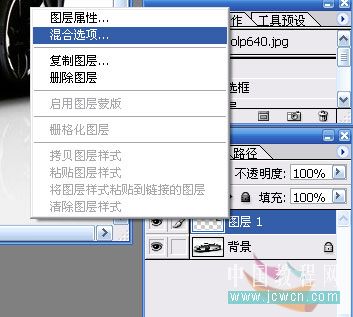
在描边效果的新图层中鼠标右键选中弹出菜单中选择混合选项
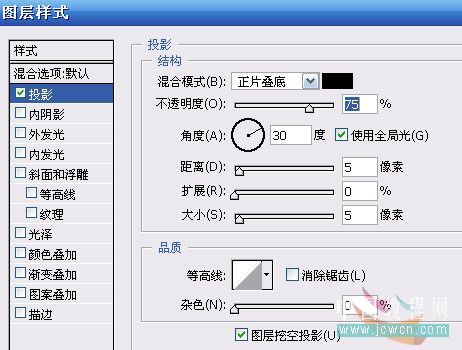
在弹出的图层样式对话框中,选中投影效果
看最后的投影效果

重复上面的步骤练习,效果如下。当然你做成箭头等形状效果更好,这里只是表述下简单做法,具体靠大家发挥了。。